4 Easter Treats You Can Make for Your Cat
Imagine sitting down at Easter time, ready to munch some tasty Easter treats, wouldn't it be great to share some with your favourite feline?
Well, although cats can't eat a lot of human Easter foods, there are lots of cat-friendly treats you can make that they can enjoy!
Remember, foods such as chocolate are dangerous for cats, as some of the ingredients (theobromine and caffeine) are toxic to them, so this must be avoided. But below are some kitty-friendly snacks that cats will love!
4 Easter treats you can make for your cat
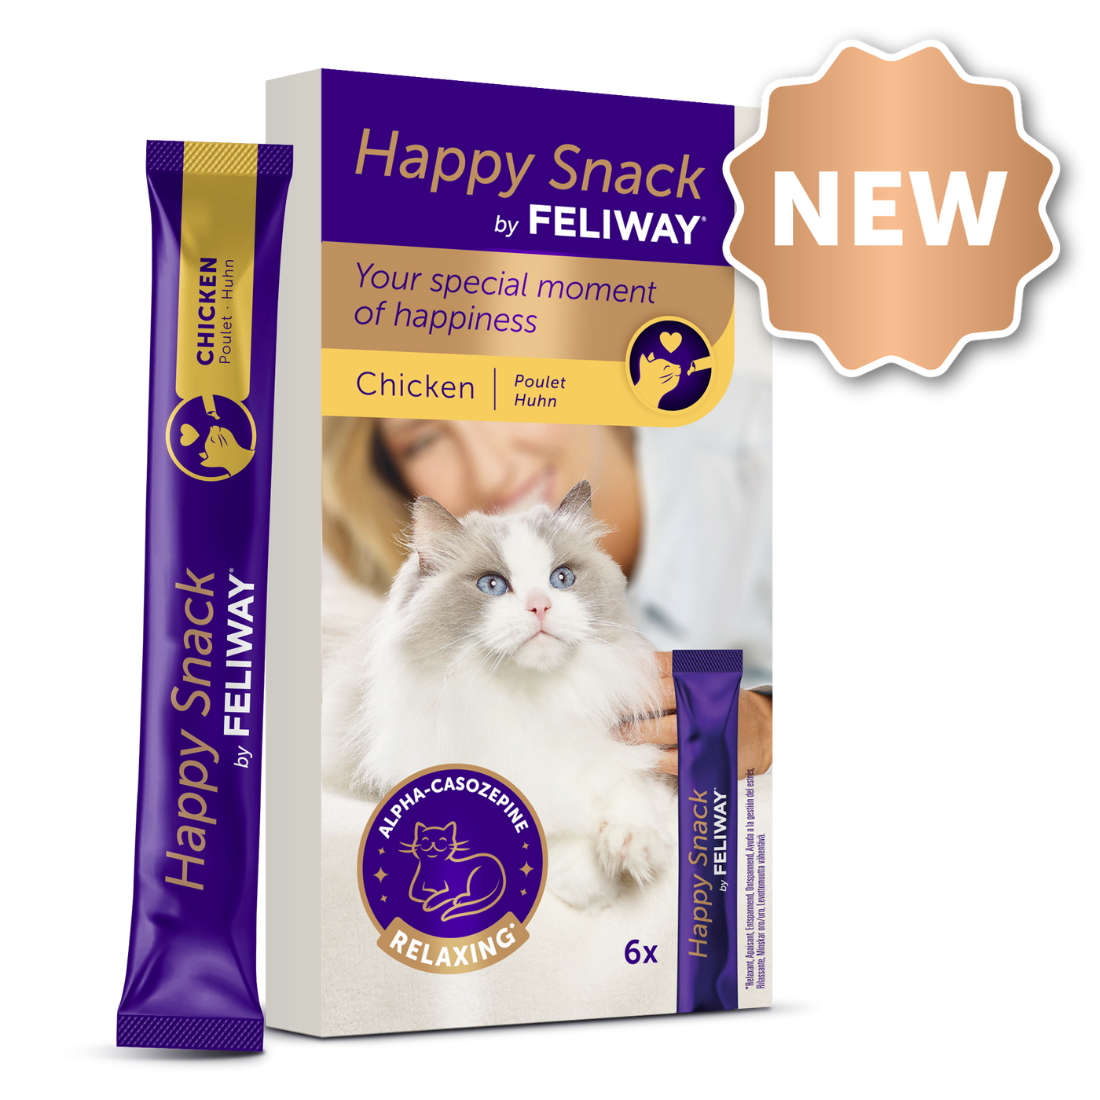
There are numerous treats available for our cats, but what can be better than making your own for your favourite furball? Of course if you did want an easy option, stock up on Happy Snack, the light creamy snack is a lickable treat that cats adore!
1. Tuna Treats!
Ingredients:
1 tin of tuna in spring water (not brine or oil)
1 egg
200g plain or wholemeal flour
Instructions
- Preheat oven to 180 C
- Add the tin of tuna (undrained) into a bowl - be sure to use tuna in spring water, not in brine.
- Next, beat the egg, add it to the bowl and mix until smooth.
- Stir in the flour to form a dough.
- Roll out the dough on a lightly floured surface until it is around 1cm thick.
- Cut out shapes with a dough cutter, this could be a fun Easter-themed shape, but remember your cat will appreciate a small-sized treat. Kitty treats should be much smaller than human ones!
- Place your treat shapes onto a lined baking tray and bake for 20-25 minutes, the treats should look golden brown and be crunchy when done.
Leave them to cool completely before feeding them to your cat! These treats can be stored in an airtight container and should keep fresh for 1 week.
If you don't want to make lots of treats at once, the tuna mixture can be split and stored in your freezer as a dough (split the mix into dough balls so you can defrost the amount you want for a small batch each time).
2. Frozen Cat Treats
These are particularly useful if we have a hot Easter, or they are easily stored in the freezer until hot summer days arrive. This recipe makes around 9-12 servings.
Ingredients
100g boneless tinned salmon, drained
1 small carrot
25g rolled oats
Instructions
- Peel and cut the carrot into small pieces, then boil in a saucepan of water for a few minutes until soft.
- Place the oats in a food processor and blend them into a flour. Alternatively, you can use ready-made oat flour.
- Drain the salmon and add to the food processor along with the carrot and mix well.
- Spoon the mixture into an ice cube tray or a silicone mould.
- Freeze until set, ideally overnight.
Once frozen, you can treat your cat! These are best served in a shady spot, probably in the garden or in a bowl, as when they melt they may become a little messy, but your cat will love you for these cool delights!
These frozen treats can be kept in a freezer for 2-3 months.
3. Chicken Bites
Ingredients
250g chicken meat (off the bone)
1 tablespoon plain yogurt
1 teaspoon sunflower oil
200g rice flour
1 egg
Instructions
- Preheat oven to 180 C
- Poach the chicken in water for 10 minutes to cook it through. Depending on the thickness of the chicken meat, you may need to cook slightly longer, but 10 mins should be long enough to cook a boneless chicken thigh).
- Remove the chicken from the water once cooked and allow it to cool.
- Chop the meat into small pieces (a hand blender may help for this).
- Add the egg (beaten), yogurt and oil, and mix together.
- Stir in the rice flour to form a dough.
- Using 2 teaspoons, place small amounts of dough on a lined baking tray and flatten with the spoons.
- Bake for 20 minutes at 180 C
Allow the chicken bites to cool before giving them to your cat. These treats should be stored in an airtight container in the fridge for up to 1 week.
4. Cheesy Delights!
Ingredients
60g grated cheese (e.g. Cheddar)
60g wholemeal flour
20g plain yogurt
20g polenta
2 tablespoons grated Parmesan cheese
Instructions
- Preheat the oven to 180 C
- Combine all of the the ingredients in a bowl, and mix to form a dough.
- Roll out the dough on a lightly floured surface until it is around 1cm thick.
- Cut out shapes with a dough cutter, this could be a fun Easter-themed shape, but remember your cat will appreciate a small-sized treat.
- Place your treat shapes onto a lined baking tray and bake for 20-25 minutes, the treats should look golden brown and be crunchy when done.
Leave the treats to cool completely before feeding them to your cat! These treats can be stored in an airtight container and should stay fresh for 1 week.
Keep an eye on kitty calorie intake
It's important to remember that any treats should be given occasionally, and alongside your cat's usual well-balanced diet, not in addition to their food. When you are planning to treat them, it would be wise to reduce their normal food intake, if they turn their whiskers up at your treat, you can always give them a little more food instead!
If your cat has a special diet, always check with your vet first before you make the treats, to ensure they are compatible with their diet.
Make it Fun!
Cats love the fun of the chase, so why not challenge your kitty to sniff out their treat?
Puzzle feeders are readily available in pet stores, but your kitty will be just as delighted with homemade items! Take a look at these DIY ideas for your cat!
Try making:
An Easter Egg Hunt
As it's Easter, use a plastic Easter egg (or a plastic bottle will be just as good)
- Clean and sanitise the empty Easter egg/bottle.
- Carefully make holes in the sides that will allow the treats to fall through.
- Place the treats inside and secure the egg/bottle closed.
- As your cat paws at the bottle and it moves the treats will fall out.
If your cat has never used a puzzle feeder before they may need some help to understand what they need to do at first. Try and make it easy for them to obtain the food with their first puzzle feeders‚ you can always increase the difficulty as they learn about the concept!
A toilet paper tube
Another simple variation for a food puzzle!
- Cut holes in the side of the tube (large enough for the treats or kibble to fall through)
- Add the treats/kibble and then cover the ends, either fold over or use sticky tape to seal over.
Tube box
- Clean and sanitise 2 or 3 small plastic bottles (or you could use cardboard tubes)
- Cut the tops off the bottles to varying heights (make sure the cut edge is smooth)
- Trace the shape of the bottles on the base of a sturdy shoe box and cut out holes for the bottles (cut the hole slightly smaller than the diameter of the bottle and this should keep it in place)
- Place the bottles in the holes so they have the open end sticking up, the height of the bottle should be no more than the cat's forelimb length (to their elbow!)
- Place treats in the bottles, your cat will need to reach into the bottle and hook/scoop out the food to eat it. You can also place the box on its side (against a wall), so your cat has to reach in along the tube
A tube stack
- Cut holes in the sides of 6 cardboard tubes, large enough for your cat to reach in with their paw.
- Seal off one end of all of the tubes so that the treat doesn't fall out.
- Stack the 6 tubes in a pyramid shape and stick them together.
- Place treats inside the tubes, your cat can access via the ends or the holes you have created to find the food!
At Easter time, there are a lot of things around that your kitty might like to explore, we know how inquisitive cats can be!
Make sure you create a happy Easter with your cat by taking all the necessary steps to keep them calm and safe, so that they can cosy up with you and enjoy their Easter treats!
For more expert cat care advice, don’t forget to check out the rest of our blogs online. You can also sign up to our newsletter to receive all our latest news and guide straight into your inbox!


